 Hugelkultur beds are extremely popular in permaculture circles. Raised beds built over a mound of logs and woody debris, they are self-watering as the logs decompose, and provide intriguing microclimates with which to play. There are multiple websites on how to build one, but how do you actually use them? This blog addresses that. It is not about constructing a hugel bed, but how to maximize your growing potential (in our southern climate, zone 7) after it is built.
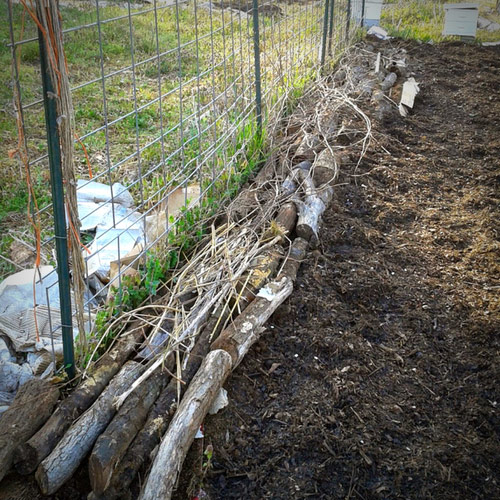
We installed three 30 foot long beds, 2.5 feet high, two years ago and oriented the beds running in the East-West direction. One difference that I’ve seen between our beds and others is that we have a welded wire cattle panel fence running down the middle of the bed as a trellis. I’ve used several different kinds of trellis, and the welded wire cattle panels with t-posts are by far the quickest, easiest and sturdiest of everything I’ve tried.
 The first two years with the hugels I didn’t have time to really think about where I wanted to plant things on the beds. I threw stuff in, and it all grew. I’m very happy with the results. This year I decided to be a little more methodical about using the best properties of the beds – the fantastic microclimates. Using a fence for a trellis is derived from the Square Foot Garden method by Mel Bartholomew. He puts trellises on the north side of his beds and lets the tall and climbing plants grow there. I have used his method for about 15 years so I can’t comprehend gardening without the trellis. I trellis all vines, including cantaloupes, cukes, squash, and beans as well as tomatoes. I tuck the tomatoes through the fence as they grow. No strings or falling cages. This keeps the fruit off the ground, makes it easier to harvest, allows air to circulate through the plants, and makes a LOT more room for other plants.
I chose my favorite plants, sorted them according to their favorite climate, and figured out where that might fall on the bed. Let me just say here that the south sides of the beds are really hot and dry, and the 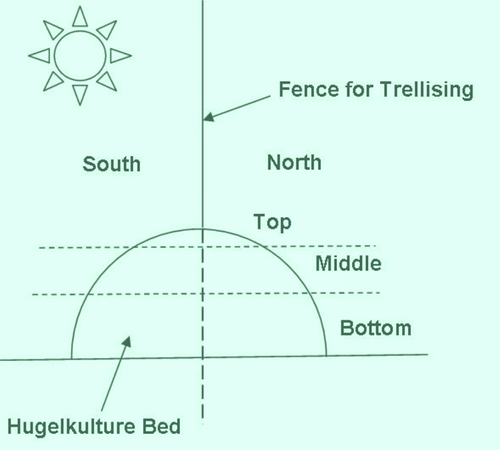 north sides are noticeably cooler and moister. It’s not rocket science, but when the contrast is so stark, it brings home the beauty of Hugelkultur. In addition, the beds are drier at the top, and more moist toward the bottom. This steps up the complication factor a little.
I decided that the top of the beds, which is about 2 foot of horizontal space (one foot on either side of the trellis), would always be used for trellis plants. The top part is also drier, as I mentioned, so you may want to keep that in mind. I have irrigated my beds with drip irrigation, so I have a backup in case of extreme drought.
In my case, I separated my favorite trellis plants as follows:
TOP

 I can plant on both sides of the trellis, so I can plant cantaloupe and runner beans on the same trellis at the same point on the bed, just on either side of the fence. This allows the beans to fertilize the heavy feeder cantaloupes. I have done this, and used the Square Foot method, so there are 8 bean plants on one side of the trellis in a one-foot distance, and one cantaloupe plant on the other in the same one-foot distance.
The soil can support it nutritionally, and the trellis can support it physically, but harvesting is a real nightmare because the plants are so intertwined. I suggest planting at spacing further apart than the Square Foot method for your hugel beds.
MIDDLE
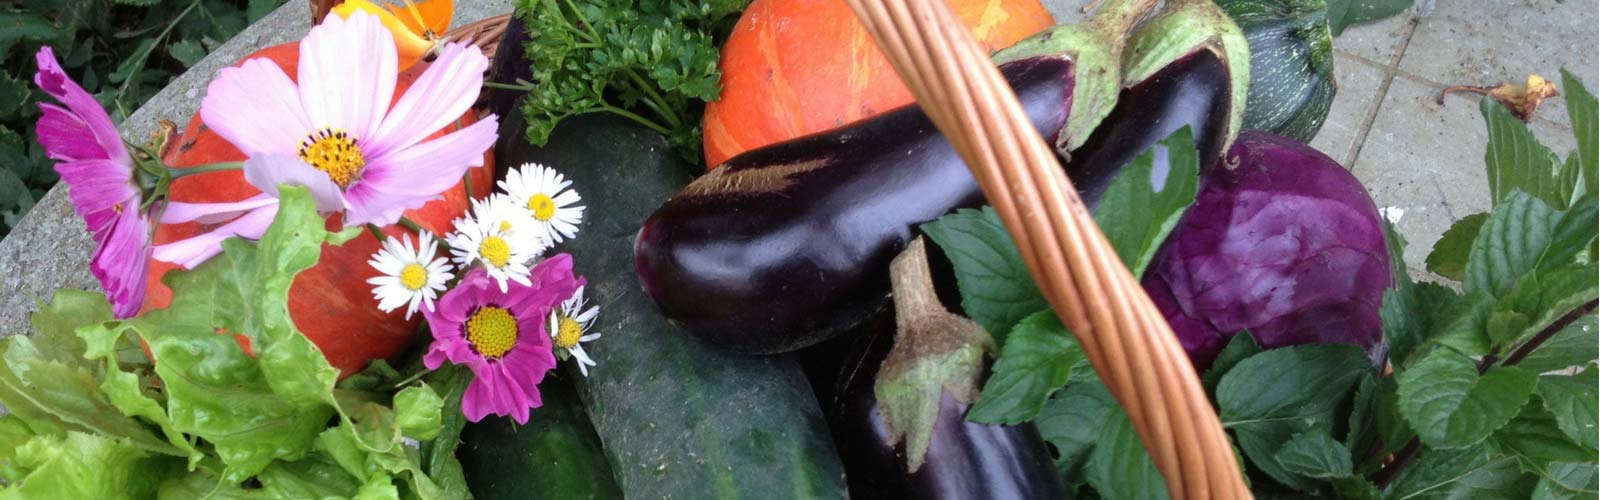
The middle part has shorter plants, so they don’t compete for space like the trellis plants. This is where I put in a lot of flowers as well. I have read that you should have anywhere from 1/3 to 1/2 of your vegetable garden planted in flowers (preferably native) to keep the beneficial insects happy. This ensures that something will be flowering at all times.
This is what I have used in the middles:
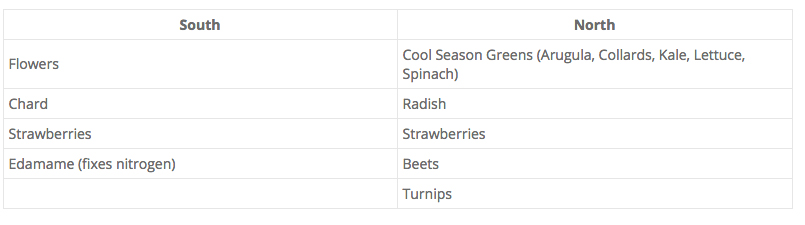
For one bed (or more) I planted strawberries on both the north and south sides in the middles. This happened by happy accident last year, and it extended my strawberry harvest considerably at the beginning and the end of the season. This season extension is probably applicable for anything you plant. It’s part of the excitement of experimenting with this type of bed.
BOTTOM
The bottom of my beds is almost vertical, and is frankly kind of ‘throw-away’ space in terms of directly growing food. It doesn’t have to be for you, but that’s how it turned out for me. I planted dock, sorrel and comfrey along the base of the bed, right at ground level. Native flowers are also good here. These sturdy plants with long tap roots are a perfect fit here for a few reasons, most having to do with farm animals. If my goats get into the garden they rush for the first green thing they see at eye level and start munching. In my case, this is the dock. It stops them dead in their tracks at the entrance to the garden. They stop to eat the dock, thinking they are getting away with something, and I have a chance to run over, grab their collars and escort them out. I find dock somewhat edible if I don’t have anything else, but it’s not my favorite. It doesn’t hurt my feelings one bit if the goats eat it, whereas, I take great offence if they eat something I prize.
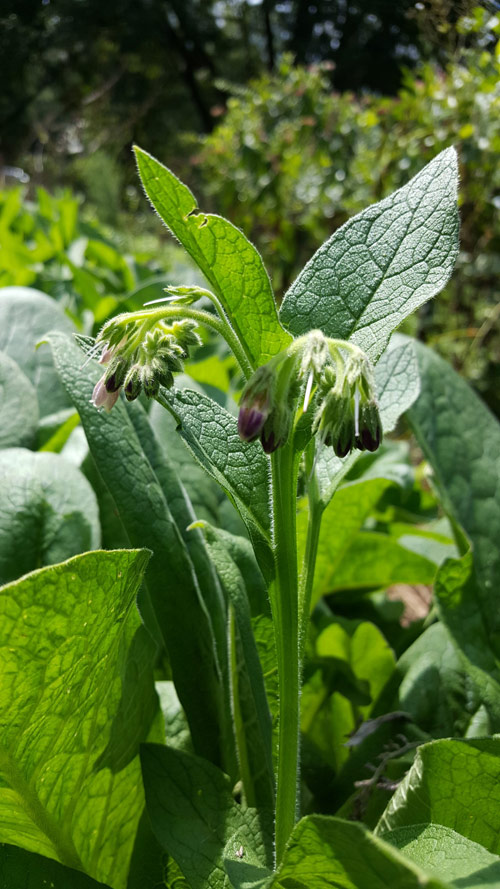
Comfrey in the garden
Another good reason for the deep rooted and native plants is for chickens that get into the garden. Chickens naturally scratch at the corner between a vertical surface and the ground. This makes the base of a hugel bed a favorite spot. I’ve found that they can do quite a bit of digging around the dynamic accumulator plants with no ill effect.
The last reason that I like putting these plants at the base is because I tend to kick them and step on them when I am reaching up to harvest off of the trellis. They take the trompling like a champ.
Just up from the dock and comfrey, but below the ‘middle’ area, I’ve put clover because it holds the soil, fixes nitrogen and attracts pollinators. This is a great way to work toward my goal of 1/2 of my vegetable garden plants being flowers.
The north side on the bottom is perfect for mushrooms because it is the coolest and dampest part of the bed. I used old logs, so couldn’t inoculate them with useful mushroom spores.
I’ve had more varieties of ‘wild’ mushrooms sprout out of the north sides of those beds than I even knew existed. Maybe when I add new beds, I’ll inoculate the logs with some edible mushrooms.

HERBS
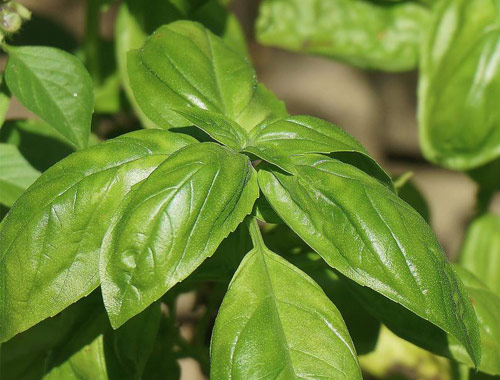 Herbs are probably my favorite in the garden. I enjoy being able to run out while cooking and grab something that makes the dish over-the-top amazing. I plan to plant all of my herbs at one end of my hugel because there are so many perennials and biennials that make me happy. If I intersperse them with the annual garden plants, I risk disturbing their roots every change of planting season on the hugel beds. Yes, I realize that this is the purpose of an herb spiral, but herb spirals just don’t float my boat, AND, I already have a hugel built. This is my list of herbs:

ROOTS
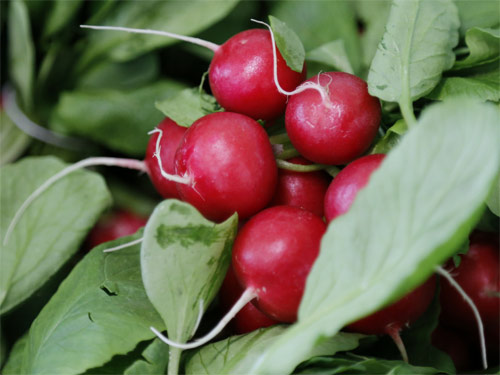 I’ve also separated out root crops because of the whole root disturbance issue with surrounding plants. I will plant a bed or a half of a bed in root crops alone. I don’t recommend planting root crops until the hugel has had a chance to decompose some. Otherwise the roots are growing down into the logs and aren’t easily harvestable. The smaller root crops like radishes and small turnips are probably fine for the first few years or so.
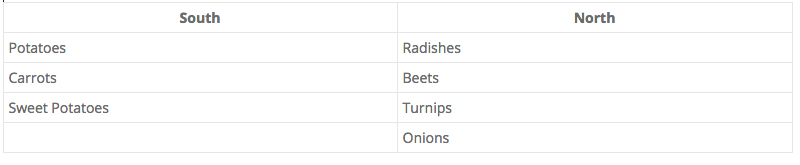
This is how the root crops settle out in relation to sun needs:
SPACE HOGS
A last category of plants is the group of plants that take a tremendous amount of space to grow. This includes watermelons and vining squash. Small watermelons (less than eight pounds) can be grown on a trellis, but I have come to the conclusion that watermelons and squash can take up room someplace other than the hugel beds because the hugel space is so intensively planted that it doesn’t make sense to have them there. Watermelons and squash are great at making you feel like you are hacking your way through the Amazon. After a while, you just don’t fight it, and the plants that the watermelons ate are left unharvested because it is too much trouble to get to them. My watermelons this year were planted in a flat area away from the hugel beds. Over the years I have learned to sheet mulch around the watermelon plants so that I don’t have to cultivate, and I don’t have five foot weeds preventing me from reaching the watermelons.
As an aside, I now have a good six inches of compost in the areas where I’ve been sheet mulching for years. I use this to build up my beds when needed.
In summary, there are as many ways to build and plant a hugelkultur bed as there are people. I look forward to hearing what you’ve done on yours in the comments below!
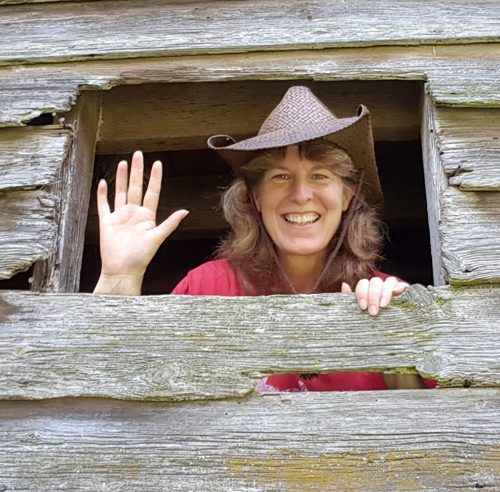 Kirsten Holland Robertson is a regenerative farmer and SWCD Educator in Greenville, SC. In addition to growing her own vegetables and raising her own sheep and goats in a dynamic permaculture based, holistically managed agroforestry silvopasture system, Kirsten manages the lively Facebook ReGenerative Grazing community group. After finding Vail and joining the Grazing Power community, she has joined our team, partnering with SimpleSoilSolutions.com to create holistic grazing and soil building mentorship programs, and offers us support. Look for RegenaGraze.com.